Mt Pinatubo Tour: Scaling An Active Volcano In The Philippines
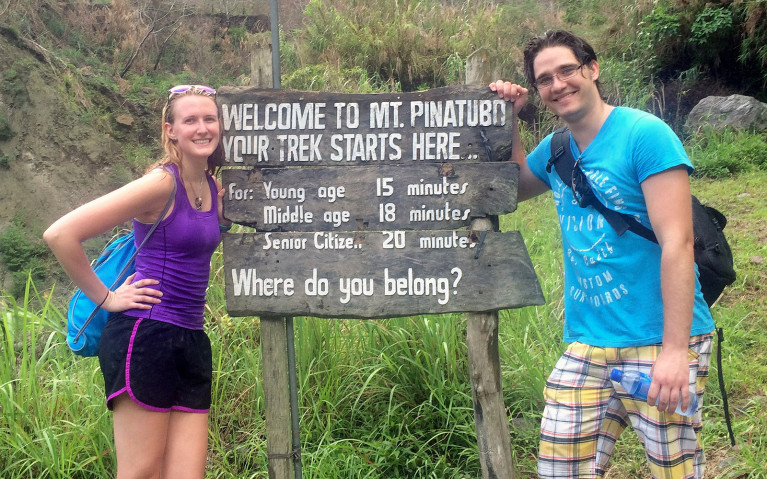
As you probably know, we don’t have any volcanos in Canada. So when I found out I could hike some in The Philippines, I couldn’t resist! First I tackled Taal and while it was a lovely hike… it just wasn’t enough. I needed more. So it was time to scale Mount Pinatubo, The Philippines’ most famous (and still “active”) volcano! Yes Mt Pinatubo is still classified as active but never fear – there has been no activity since its eruption in 1991. Many people tackle this hike, and it’s not to be missed! However you can’t tackle this trek solo as you need a guide, so you’ll need to sign up for a Mt Pinatubo Tour.
Getting to Mount Pinatubo
Mount Pinatubo is a part of the Zambales Mountains and straddles the provinces of Pampanga, Tarlac and Zambales in Central Luzon. From Manila, it’s about a three hour drive along the North Luzon Expressway. Robin and I had access to a car which made this trip easy. However, you can get there via public transportation. If you’re opting for the DIY Mt Pinatubo Tour, you’ll need to take a bus from Manila to Angeles City or Clark. From here you can head to Santa Juliana to the tourist office and book your tour. If the bus isn’t your jam, there is also a shuttle service you can hire.
While you can do this as a day trip, it means a ridiculously early morning. If you don’t know me, I’m not a morning person at the best of times. With a 7am start, there was no way I was leaving Manila at 4am to get there. After some serious research, I came upon Allan and the Casa Hermogina guesthouse who is located right in Santa Juliana. I honestly suggest staying here as Allan will happily organize everything for you, including booking the tour. It was hands down one of my favourite stays while in The Philippines.
INSIDER TIP: Stay the night before and after your Tour of Mount Pinatubo. This way you get a good night of sleep before and you don’t have to worry about leaving right afterwards. Your sore muscles will thank you for an extra night of rest.
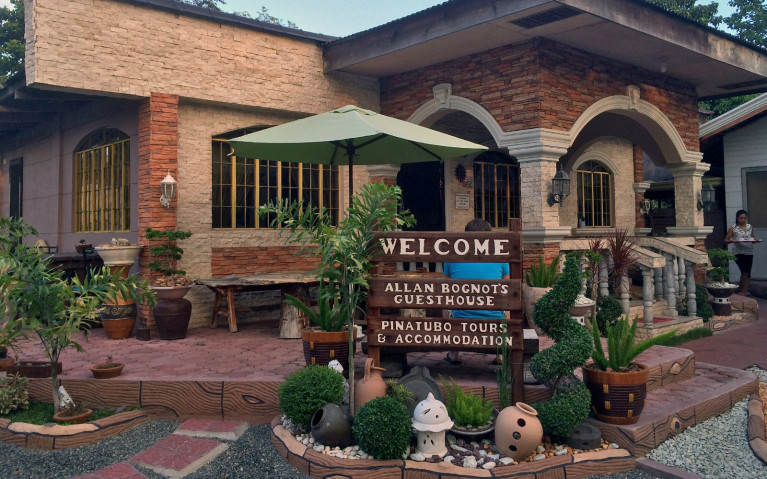
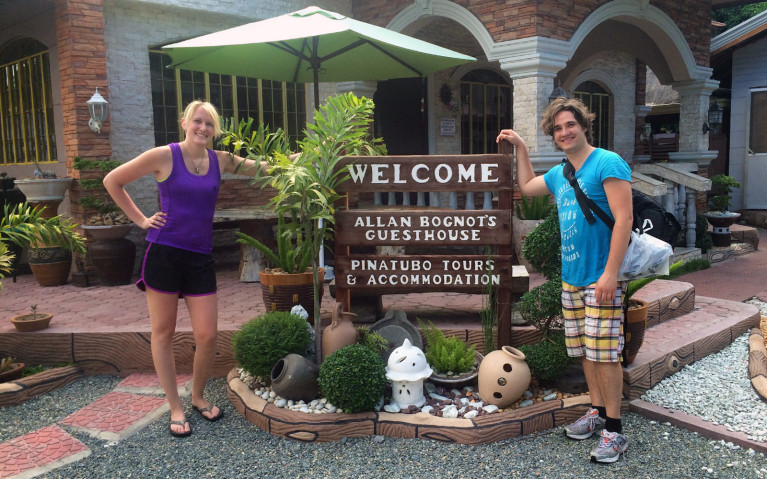
Casa Hermogina & Santa Juliana
We arrived at Casa Hermogina in Santa Juliana around 5pm. There are a number of room options, including a single private room, double private room and shared rooms. Robin and I booked a private double room which included a private bathroom with shower as well as air conditioning. For a private room, it will cost you around $40CAD per night.
Since our stay, Allan has added a few extra amenities. You can now book a number of extra excursions! If you’d like to rent your own 4×4, book an excursion along the Lahar Trail. A little too adventurous for you? Why not book a soak in a nearby volcanic hot spring? The biggest one is that you can request a massage which I would have LOVED after the trek up Mount Pinatubo!
Something to note is that Casa Hermogina does not offer WiFi, and cell service can be a little spotty. You honestly won’t miss it too much as you’ll be so busy, but it’s something to make note of. Bring a book or keep a movie on hand and unplug during your stay!
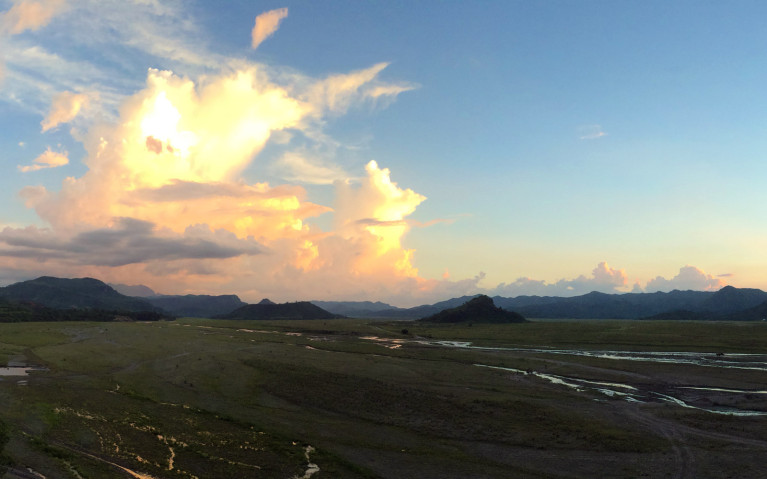
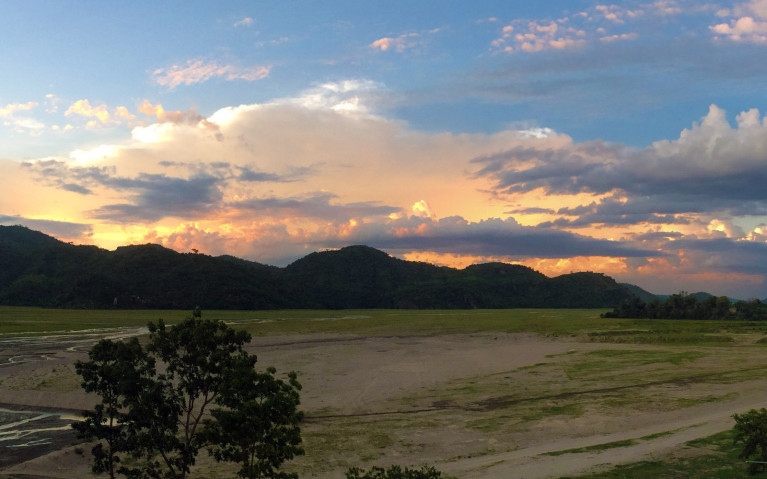
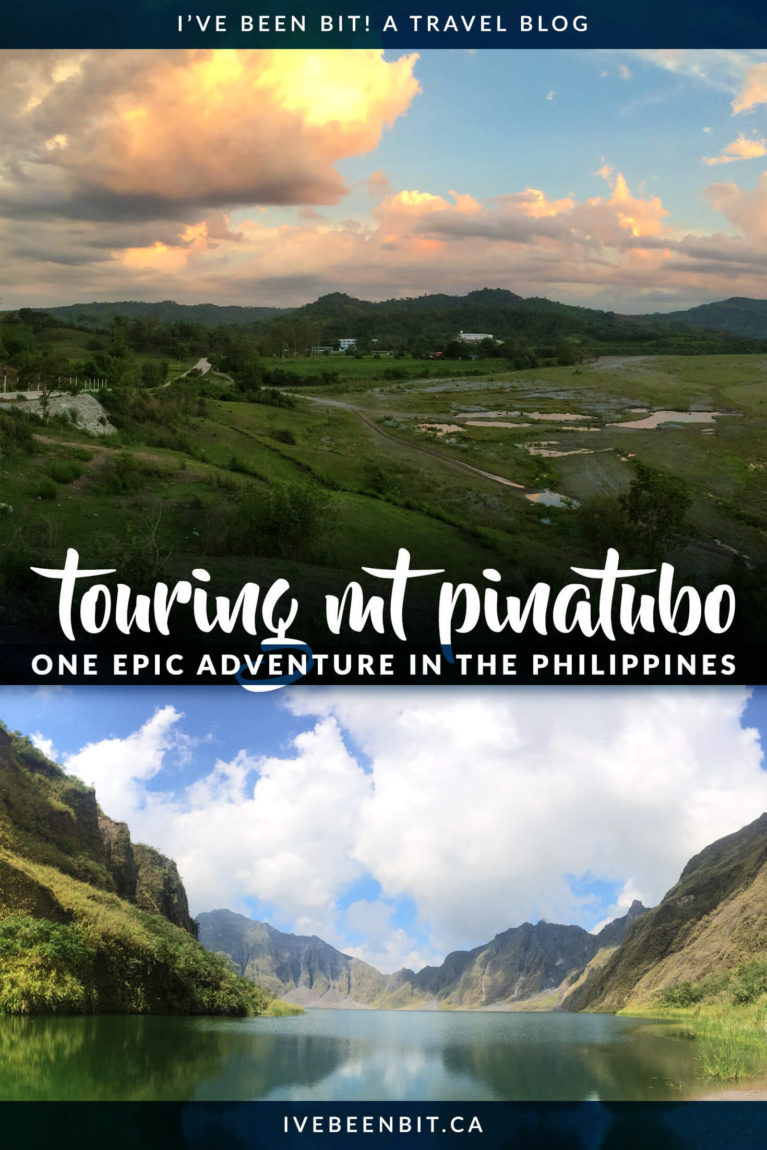
After settling in, we wandered around the town and enjoyed the sunset just down the street in what he called the ‘barren lands’. The US military uses this area to test tactics with the Filipino army, meaning the tours are suspended while they perform drills. We wandered up the hill to get a view of the area. Quite beautiful with the setting sun, don’t you think?
Our stomachs began to rumble as we decided to head back for some grub before calling it a night to prep for our big hike. One thing to note is that there aren’t any restaurants close by and you’ll have to drive into Clark or Angeles City. However, Allan’s wife Irma is a fabulous cook and for a small fee, will put something together that will make your taste buds sing. Excuse the terrible quality photo, I was too hungry to run for my camera!

The Mt Pinatubo Tour
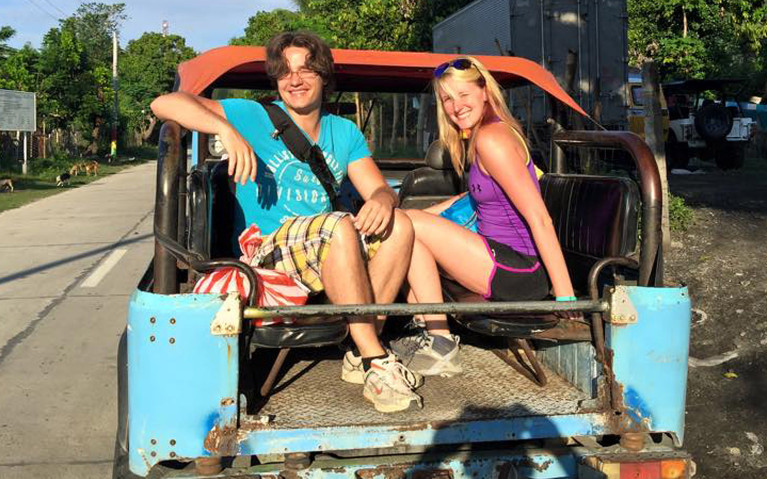
5:30am came way too quickly as we got up and prepped for our trip. Luckily a delicious breakfast was waiting for us courtesy of Irma. About an hour later, the 4×4 came by and we were on our way to Mt Pinatubo! It’s an hour ride until the start of the hike, so we settled in for a bumpy ride.
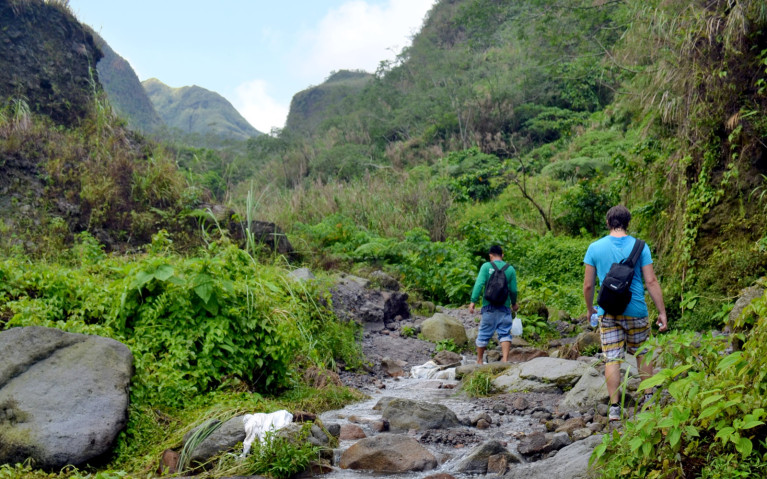
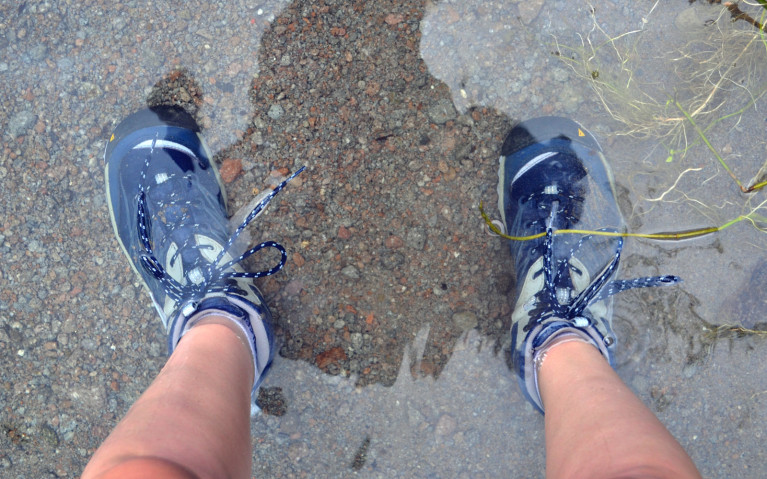
Something to note is that we did our trek the first week of June at the brink of the rainy season in The Philippines. This made our hike a little more… interesting, but you’ll have a much different experience if you go earlier in the year. As a result, we had a bit of water to contend with. Allan had mentioned earlier to bring flip flops, and upon arrival I understood why – there were small rivers we had to cross! With no hope of keeping my hiking boots dry, I embraced the water and off we went with a squish squish squish.
INSIDER TIP: The quicker you hike, the more time you’ll have at your final destination – the crater. If you do this in the dry season, you’ll probably have more time than we did as the trek will be easier.
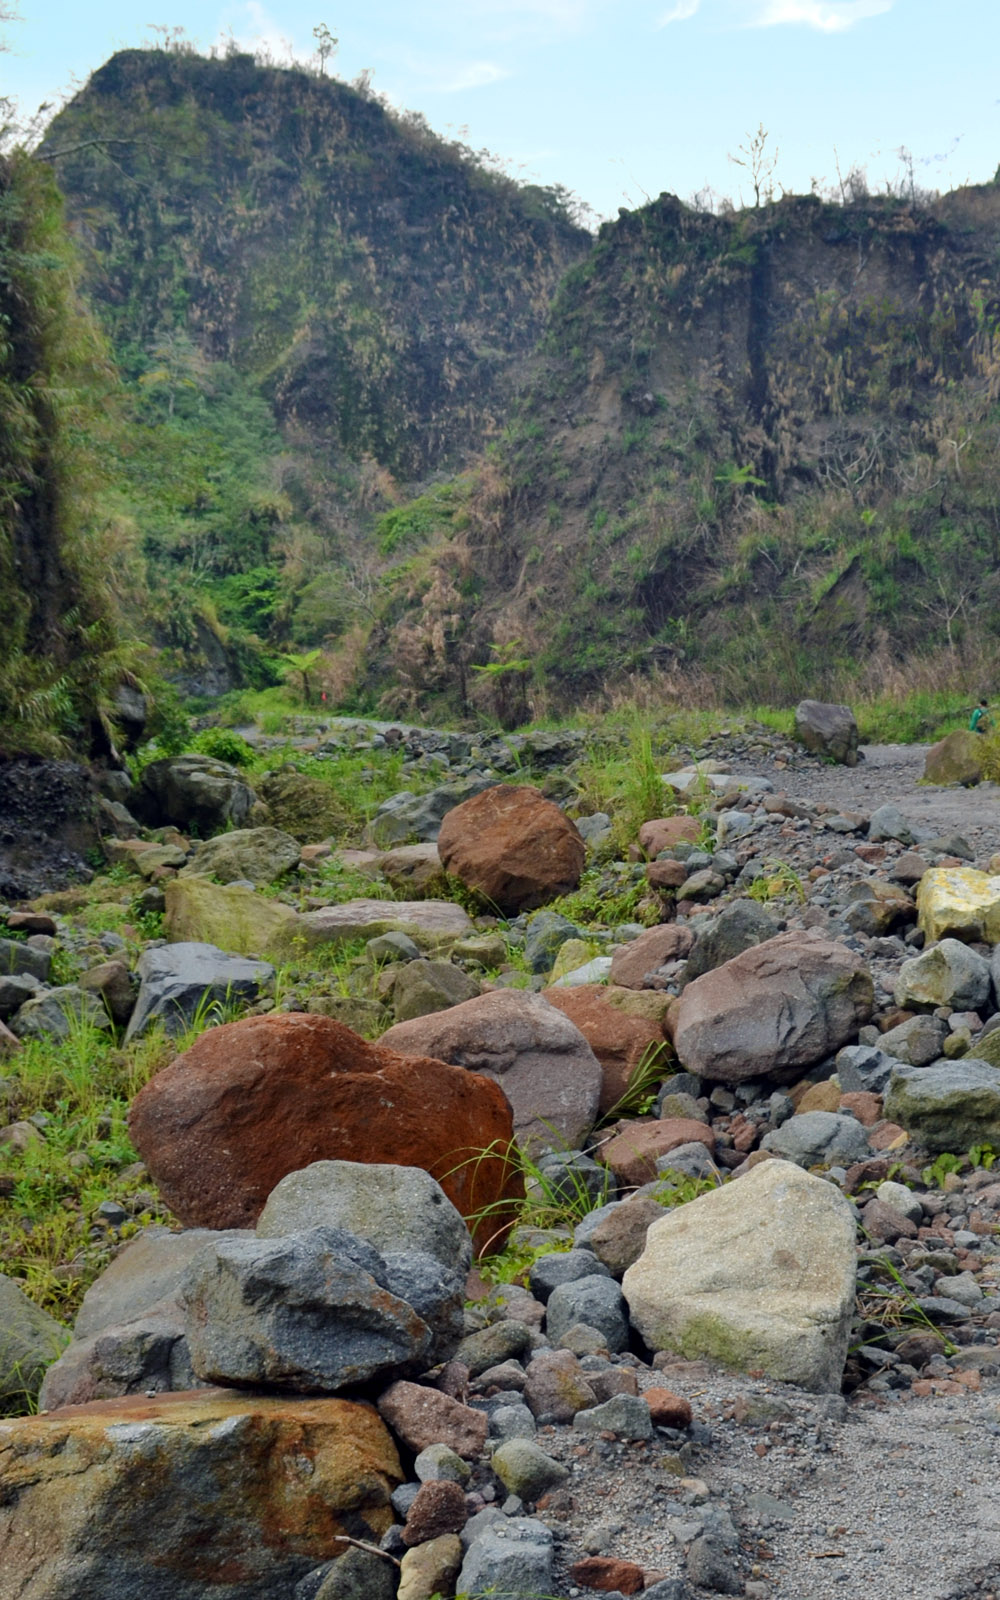
The hike takes about 2 hours each way, and the terrain is fairly level but rocky. There isn’t too much of an incline, but keep an eye out for rogue loose rocks. Just take your time and you’ll find it’s fairly easy to get through. Be sure to bring plenty of water – even at 9am the heat is quite toasty!
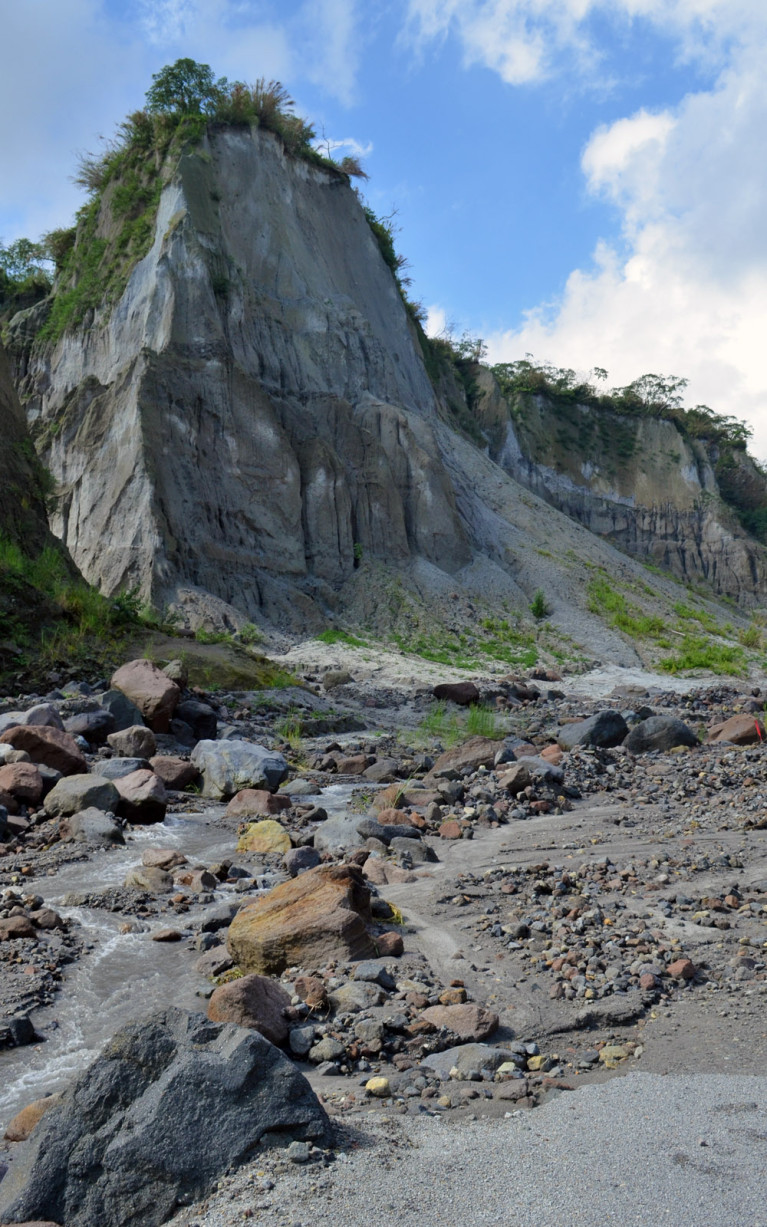 |  |
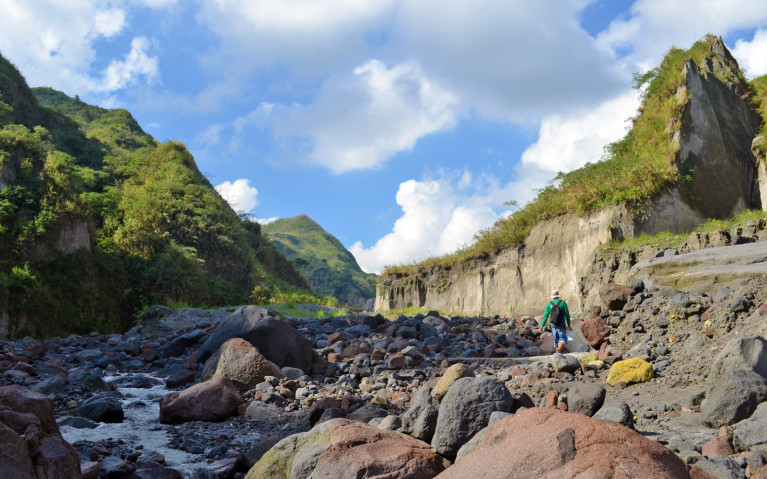
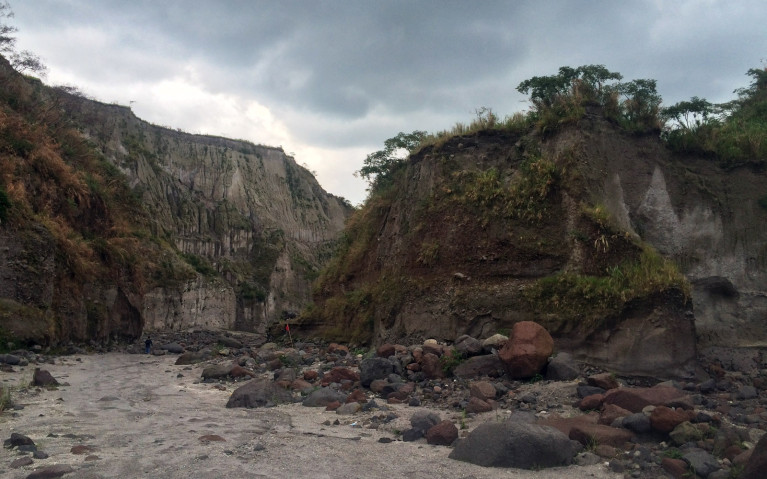
The first part of the trail is rocky with huge cliffs on either side. I’m going to assume that this was carved out when Pinatubo erupted back in 1991, which was the second largest of the 20th century! Robin remembers it as he was young and living in Manila. Having never seen snow before, he mistook it for such and tried to eat it as us snow-living folk do sometimes in the winter. His tastebuds had quite the surprise! The entire eruption however was a process of a few days as volcanic activity started early in June of 1991, with a small explosion indicating the eruption’s violent phase on June 12th. Since the process didn’t start immediately, they were able to evacuate a lot of people living near Mt Pinatubo. The damage was intensified as Typhoon Yunya arrived on the same day as the eruption. You can read more about it on Wikipedia here – it’s quite interesting!
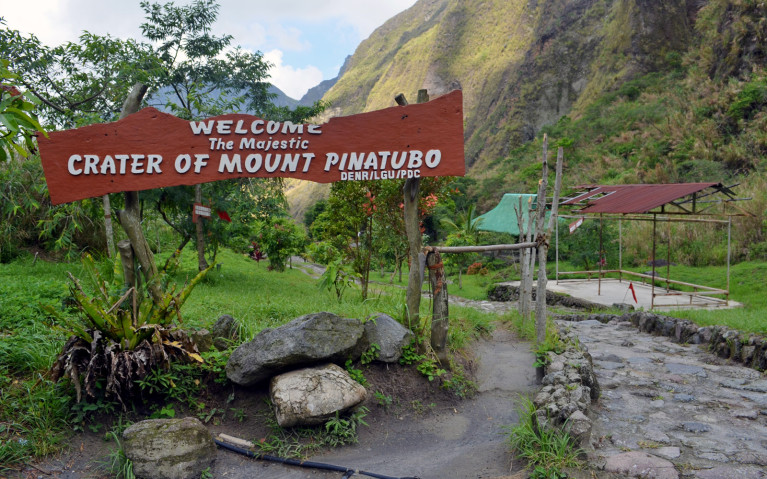
As we got closer to the crater you could see the landscape becoming more and more green. The heat was starting to get to me until we were about 20min away from the crater. Here there is a small clearing with some bathrooms, but more importantly – fresh water! There’s a fresh spring nearby with refreshingly cold water, which you 100% should indulge in. After loading up and sticking my head under the tap, it was time to tackle the last section! It should take you 15-20min to get to the crater, although the sign doesn’t account for blogger speed!
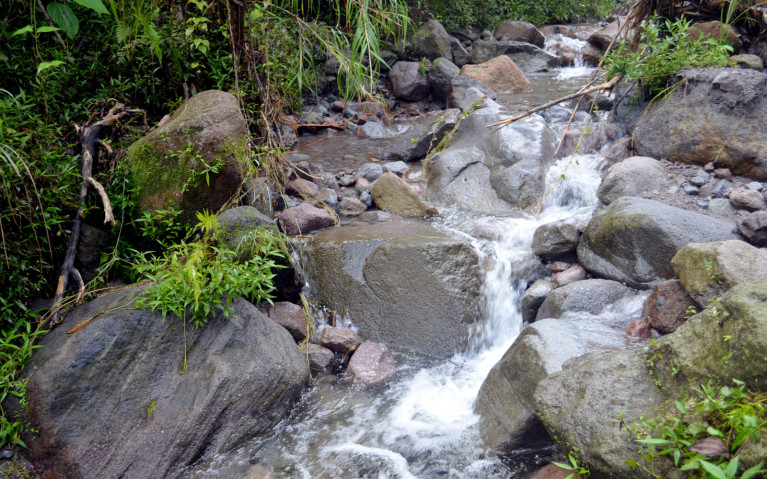
This area had a jungle vibe as there was lush vegetation surrounding us. Again, as it was almost the rainy season there were some spots with running water. Be careful of slippery rocks along with some pretty large puddles. If you didn’t have wet feet before this, chances are you will now. You’ll also notice a few small waterfalls along the route. It’ll be hard to not be distracted but keep on trekking so that you can have as much time as possible at the end.
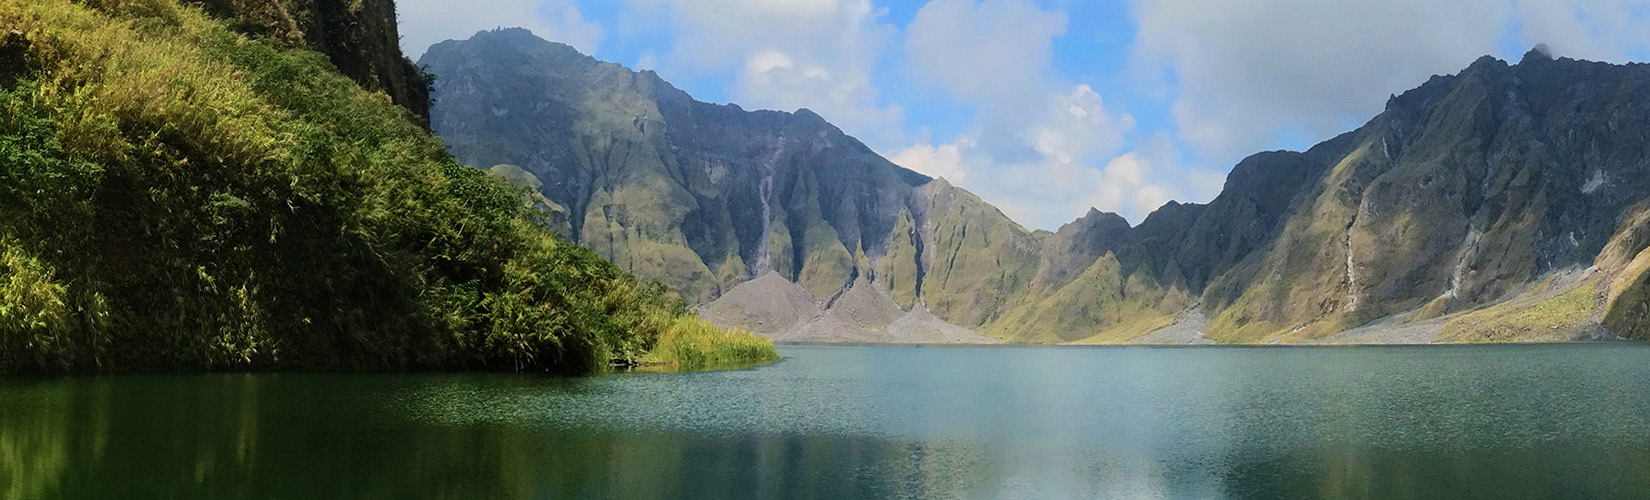
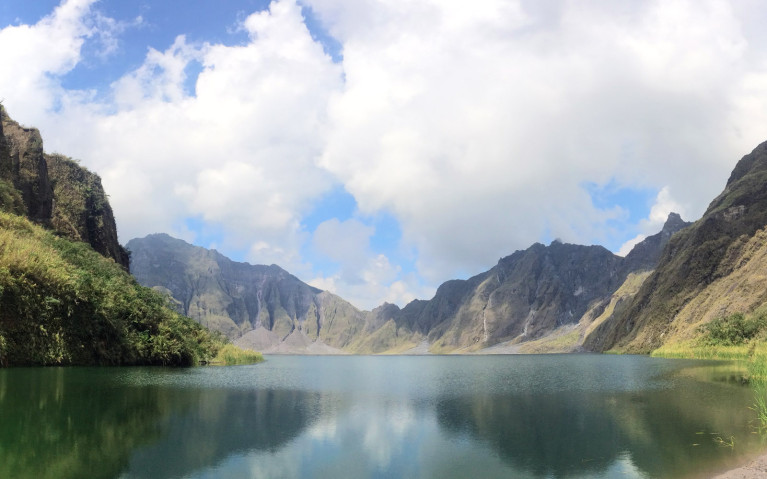
After a fairly steep uphill battle, we arrived at the view we had been searching for. Don’t worry, now is your time to frolic and grab some photos. It’s not every day you can say you’re in a volcanic crater! Just remember to take a moment and enjoy away from the camera lens.
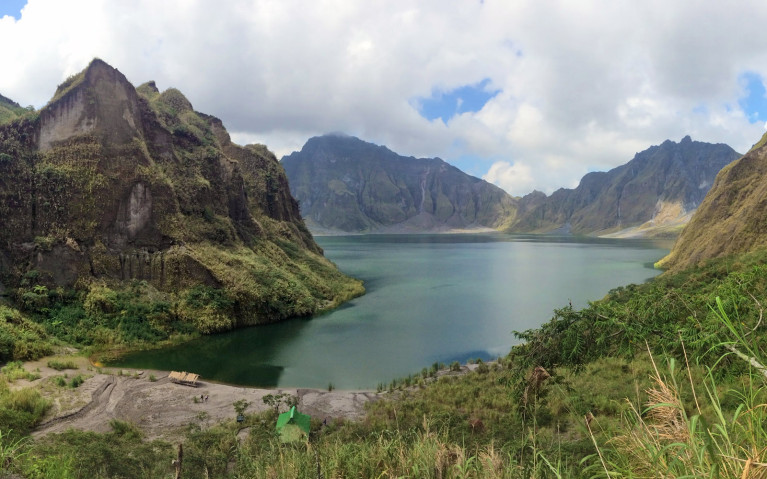
We arrived around 10-10:30am, meaning we had an hour or so to rest our feet and enjoy the scenery before making the trek back to the 4×4 drop off site. Make your way down the stairs and take in the view. While you may want to hop in the water, the crater’s lake is full of minerals which have the opposite effect of the Dead Sea and you’ll sink. Due to previous accidents, it’s now illegal to swim in the crater, but you can put your feet in to cool down.
By now your stomach will be rumbling, so it’s time for lunch! What’s that? I didn’t mention that you needed to pack a lunch?! Never fear as another perk of staying at Allan’s place – there’s an option to have lunch pre-made for your enjoyment at the crater! Robin and I enjoyed our hard-earned homemade lunch of delicious chicken adobo. It may be tough to eat though as you won’t want to take your eyes off the unreal scenery of this volcanic crater. Bucket list item – check!
 |  |

After a solid hour of rest, it was time to say goodbye to the crater and make our way back. My feet were quite sore by the time we arrived due to the amount of water caught in my hiking boots, so I opted for my flip flops (or chinelas as they’re called here). It meant I had to take it a little slower in order to not slip on too many rocks as I had less grip, but it meant my feet could breathe! Wonderful! However my ankles were soon hating me as we ran into some rain.
Remembers those small rivers I mentioned earlier? They became a lot bigger really quickly, with a much heavier flow of water! I was lucky Robin was walking behind me at one point as I got my legs crossed by slipping twice on rocks. If he hadn’t grabbed me I’d have two sprained ankles! We figured out a system so that I wouldn’t get my flip flops caught in the current, but I still needed his help (and our guides) a few times to make it across safely. Needless to say, when we arrived at the 4×4 site, my body appreciated the rest as we rode back!
As we drove our guide told us that every afternoon in June it rains like clockwork at Mt Pinatubo, hence the early start so we can get out before the torrential downpour hits. Looking back you could see the clear outline of the rain coming down – and it was coming down hard! Even as we were walking back we caught some of those raindrops… and they felt more like hail. To add to the excitement, the 4×4 ahead of us lost it’s exhaust pipe as we almost ran over it. I was a little terrified at first but Robin and our guide burst into laughter so I guess it’s a Filipino thing? Don’t worry, we all made it back safe and sound, tired from the excitement.
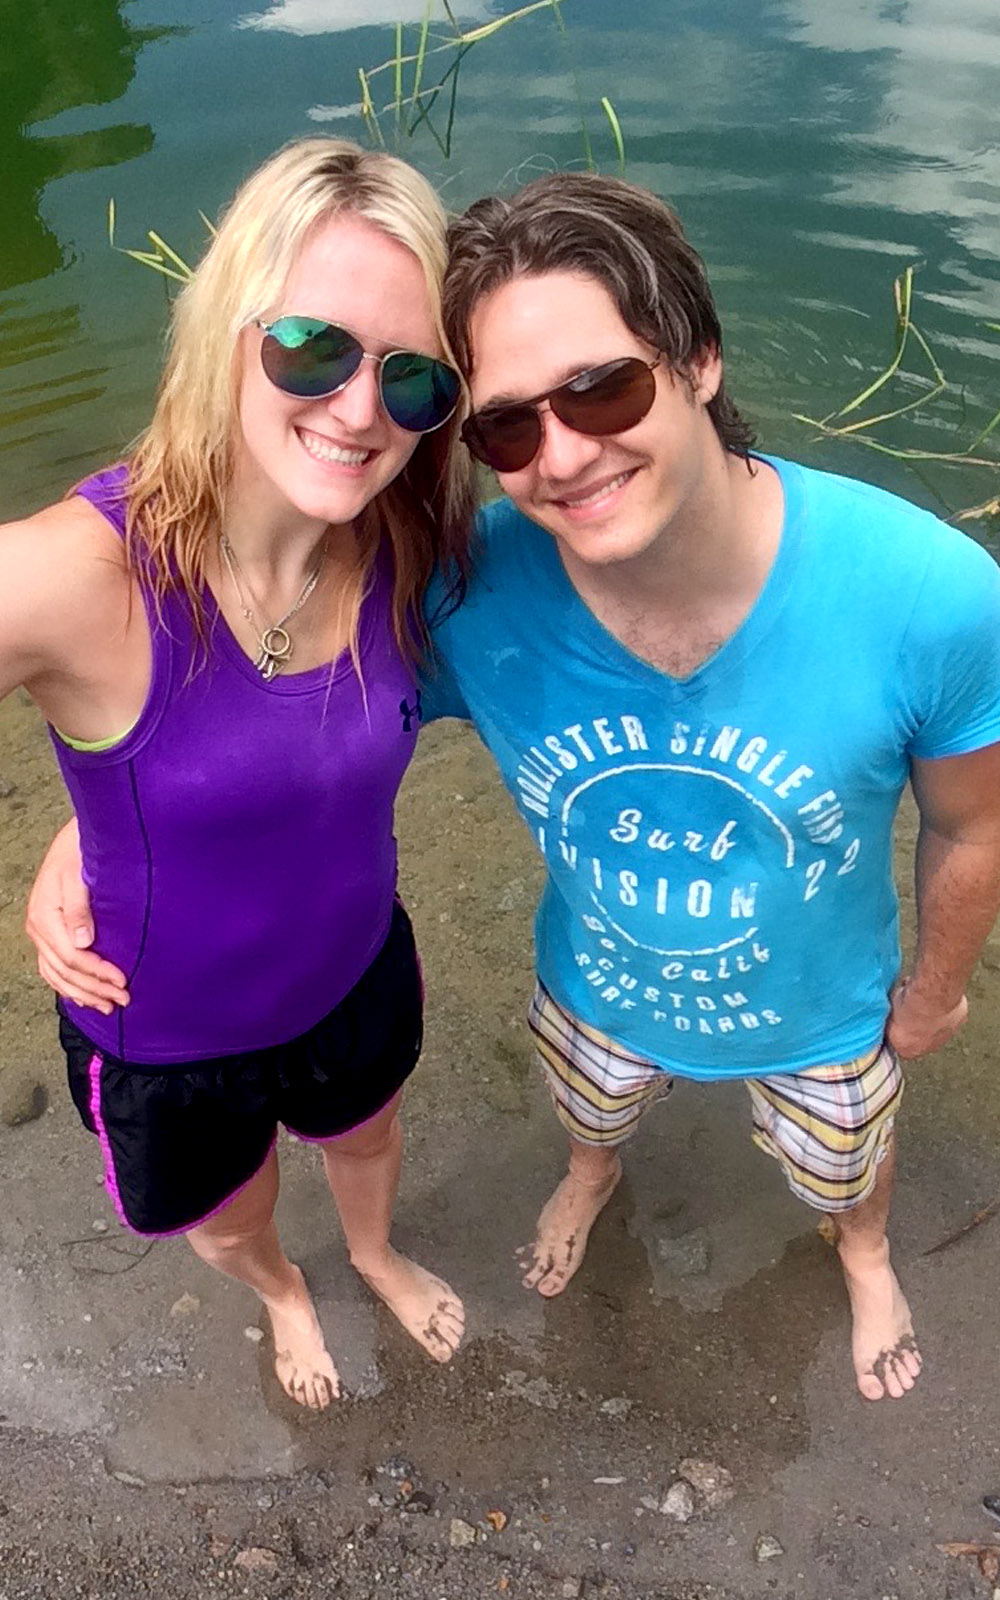
Robin and I were spoiled yet again by Irma’s delicious cooking at Casa Hermogina as we treated ourselves to a few San Miguel Lights. According to my Fitbit we walked over 26,000 steps in our trek, so needless to say our feet and legs were a wee bit sore. We relaxed as the sun set, enjoyed a movie in the comfort of our room. We called it an early night as we revelled in the fact that we conquered The Philippines’ most famous volcano! As you can see below, it definitely left an impression!

Ready for a Tour of Mt Pinatubo?
This trek was honestly one of the highlights of my time in The Philippines, and I think anyone who has done it will agree. However, there are a few things you’ll want to ensure you have for the trip.
- Sturdy Pair of Shoes, Preferably Waterproof – The terrain can be tough at times so I suggest a pair of good hiking boots with solid ankle support. Waterproof is key if you opt to do the trek in late May/early June like Robin and I did
- Hat – While I look ridiculous in one, a hat will not only help keep you cool but the sun off of your face. I wish I had one while I was hiking!
- Back-Up Water Bottle – They can be bulky, but there were a few times where I wish I had more water. Don’t get me wrong, I survived, but I’m someone who doesn’t deal with the heat very well. An extra bottle to keep me hydrated (or a big one) would have been worth the extra weight
- Small Travel Towel – It’ll help you keep the sweat out of your eyes (trust me, there’ll be lots) and it’ll come in handy for drying your feet off after putting them in the crater. It’ll also help to keep sand off your feet and out of your shoes.
Would you ever trek up a volcano? Have you done a Mt Pinatubo Tour? If you’re heading to The Philippines soon, this is definitely an adventure that’s not to be missed!


Share Your Thoughts